How to Create Drop-Down Using Custom Directives in Angular
Hello Readers, Today’s topic is how can we create our custom drop-down in angular using custom directives.
First, we need to Create “custom-drop-down-directives.ts” as per the below code.
import { Directive,HostBinding,HostListener} from '@angular/core';

@Directive({
    selector: '[myDropDown]',
    exportAs:'myDropDown'
  })

  export class DropDownDirective {
    @HostBinding('class.open') isOpen = false;

   @HostListener('click') toggleopen() {
     this.isOpen = !this.isOpen;
   }
 }
Here our Custom directives script is ready now let’s move on to the next point.
Let’s move into “app.module.ts” and Import as like the below code.
import { DropDownDirective } from 'src/app/custom-drop-down-directives'; // Your file path
Now next step is to add our Directive in the Declaration.
declarations: [ DropDownDirective ]
Now we are ready to go in our HTML file to create a custom DropDown.
Here is a snippet code of our custom Drop-Down. take a look below.
<div class="btn-group" myDropDown #r="myDropDown">
      <button type="button" class="btn btn-primary dropdown-toggle" data-toggle="dropdown">
        Custom Drop-Down
      </button>
      <ul class="dropdown-menu" [ngClass]="{'show':r.isOpen}">
        <li><a class="dropdown-item" *ngFor="let custdd of customDropDownLst" (click)="dropdownselect(custdd.name)"          href="javascript:void(0);">{{custdd.name}}</a></li>
      </ul>
</div>
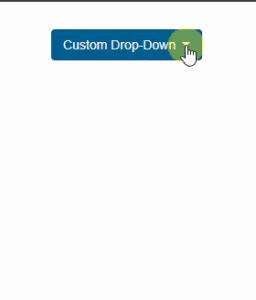
Now we are all done here Now ready to explore our Drop-Down. let’s Check the below Image.


