In this article, we are going to learn how to get Authorize.net hosted page and do the further payment.
For this first, we want to create a sandbox account and get ApiLoginID and ApiTransactionKey.
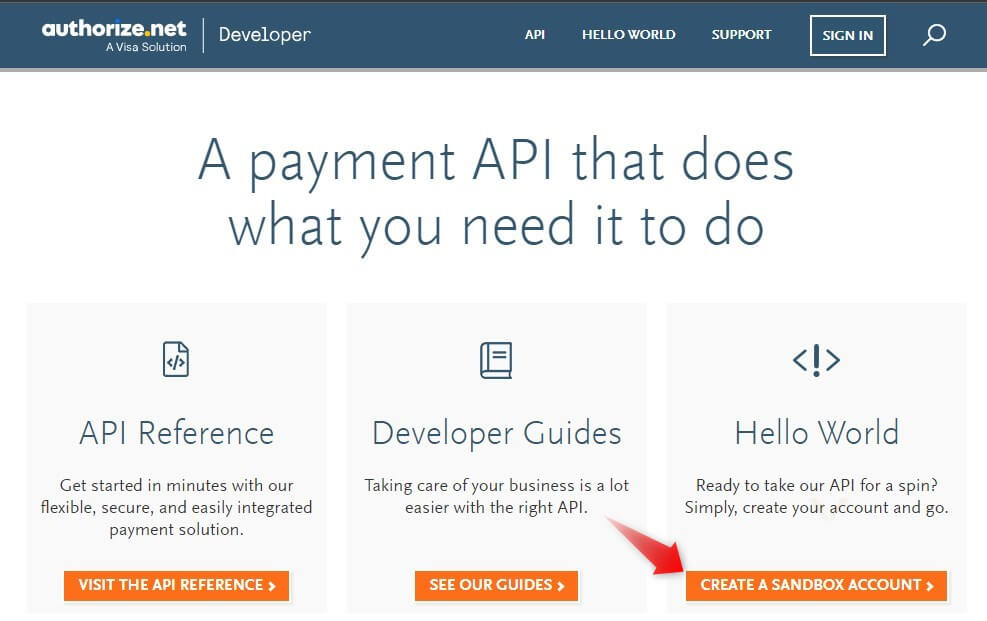
Goto Authorize.Net
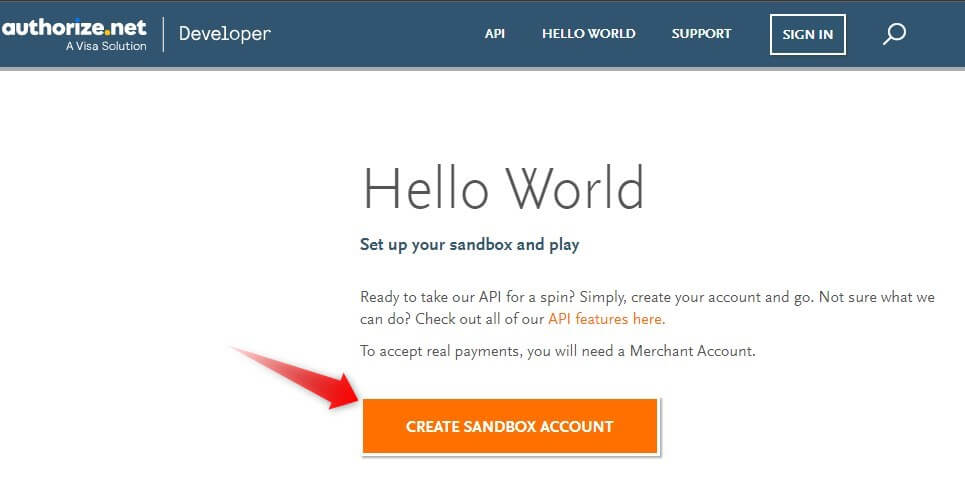
First Click on Create a sandbox account.


Next, fill in all the details for registration.

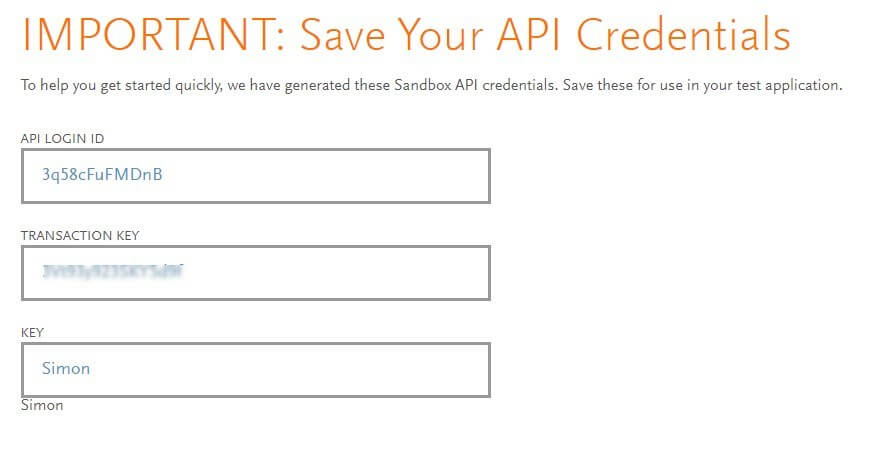
After that, you will get your API LOGIN ID and TRANSACTION KEY.
Let’s create a .Net Project.
Open the HomeController and paste the below code in it.
 public IActionResult GetHostedPage()
 {
        ApiOperationBase<ANetApiRequest, ANetApiResponse>.RunEnvironment = AuthorizeNet.Environment.SANDBOX;
        ApiOperationBase<ANetApiRequest, ANetApiResponse>.MerchantAuthentication = new merchantAuthenticationType()
        {
             name = "ApiLoginID",
             Item = "ApiTransactionKey",
             ItemElementName = ItemChoiceType.transactionKey
        };

        settingType[] settings = new settingType[10];
        settings[0] = new settingType();
        settings[0].settingName = settingNameEnum.hostedPaymentBillingAddressOptions.ToString();
        settings[0].settingValue = "{\"show\": true , \"required\": false }";
        settings[1] = new settingType();
        settings[1].settingName = settingNameEnum.hostedPaymentButtonOptions.ToString();
        settings[1].settingValue = "{\"text\": \"Pay\"}";
        settings[2] = new settingType();
        settings[2].settingName = settingNameEnum.hostedPaymentCustomerOptions.ToString();
        settings[2].settingValue = "{\"showEmail\": false, \"requiredEmail\": false, \"addPaymentProfile\": true}";
        settings[3] = new settingType();
        settings[3].settingName = settingNameEnum.hostedPaymentOrderOptions.ToString();
        settings[3].settingValue = "{\"show\": true, \"merchantName\": \"G and S Questions Inc.\"}";
        settings[4] = new settingType();
        settings[4].settingName = settingNameEnum.hostedPaymentPaymentOptions.ToString();
        settings[4].settingValue = "{\"cardCodeRequired\": false, \"showCreditCard\": true, \"showBankAccount\": true}";
        settings[5] = new settingType();
        settings[5].settingName = settingNameEnum.hostedPaymentReturnOptions.ToString();
        settings[5].settingValue = "{\"showReceipt\": true, \"url\": \"https://localhost:44369/home/PaymentSuccessfully\", \"urlText\": \"Continue\",    \"cancelUrl\": \"https://localhost:44369/home/PaymentFail\",
        \"cancelUrlText\": \"Cancel\"}";
        settings[6] = new settingType();
        settings[6].settingName = settingNameEnum.hostedPaymentSecurityOptions.ToString();
        settings[6].settingValue = "{\"captcha\": false }";
        settings[7] = new settingType();
        settings[7].settingName = settingNameEnum.hostedPaymentShippingAddressOptions.ToString();
        settings[7].settingValue = "{\"show\": false ,\"required\": false }";
        settings[8] = new settingType();
        settings[8].settingName = settingNameEnum.hostedPaymentStyleOptions.ToString();
        settings[8].settingValue = "{\"bgColor\": \"blue\"}";
        settings[9] = new settingType();
        settings[9].settingName = settingNameEnum.hostedPaymentIFrameCommunicatorUrl.ToString();
        settings[9].settingValue = "{\"url\": \"https://mysite.com/special\"}";
        var transactionRequest = new transactionRequestType
        {
              transactionType = transactionTypeEnum.authCaptureTransaction.ToString(),    // authorize capture only
              amount = 10.00M,
              billTo = new customerAddressType
              {
                  address = "14 Main Street",
                  city = "Pecan Springs",
                  company = "Souveniropolis",
                  country = "US",
                  firstName = "hafeezjaha",
                  lastName = "shaikh",
                  state = "TX",
                  zip = "44628"
             },
       };

       var request = new getHostedPaymentPageRequest();
       request.transactionRequest = transactionRequest;
       request.hostedPaymentSettings = settings;
       // instantiate the controller that will call the service
       var controller = new getHostedPaymentPageController(request);
       controller.Execute();

       // get the response from the service (errors contained if any)
       var response = controller.GetApiResponse();
       ViewBag.Token = response.token;
       return View();
}
public IActionResult PaymentSuccessfully()
{
       return View();
}
public IActionResult PaymentFail()
{
       return View();
}
Add view GetHostedPage() and paste following code in it.
@{
    ViewData["Title"] = "GetHostedPage";
    Layout = "~/Views/Shared/_Layout.cshtml";
}

<h1>Payment</h1>
<form method="post" action="https://test.authorize.net/payment/payment" id="formAuthorizeNetTestPage" name="formAuthorizeNetTestPage">
    <input type="text" name="token" value="@(ViewBag.Token)" /><br />
    Continue to Authorize.Net to Payment Page
    <button id="btnContinue">Continue to next page</button>
</form>
That’s it.
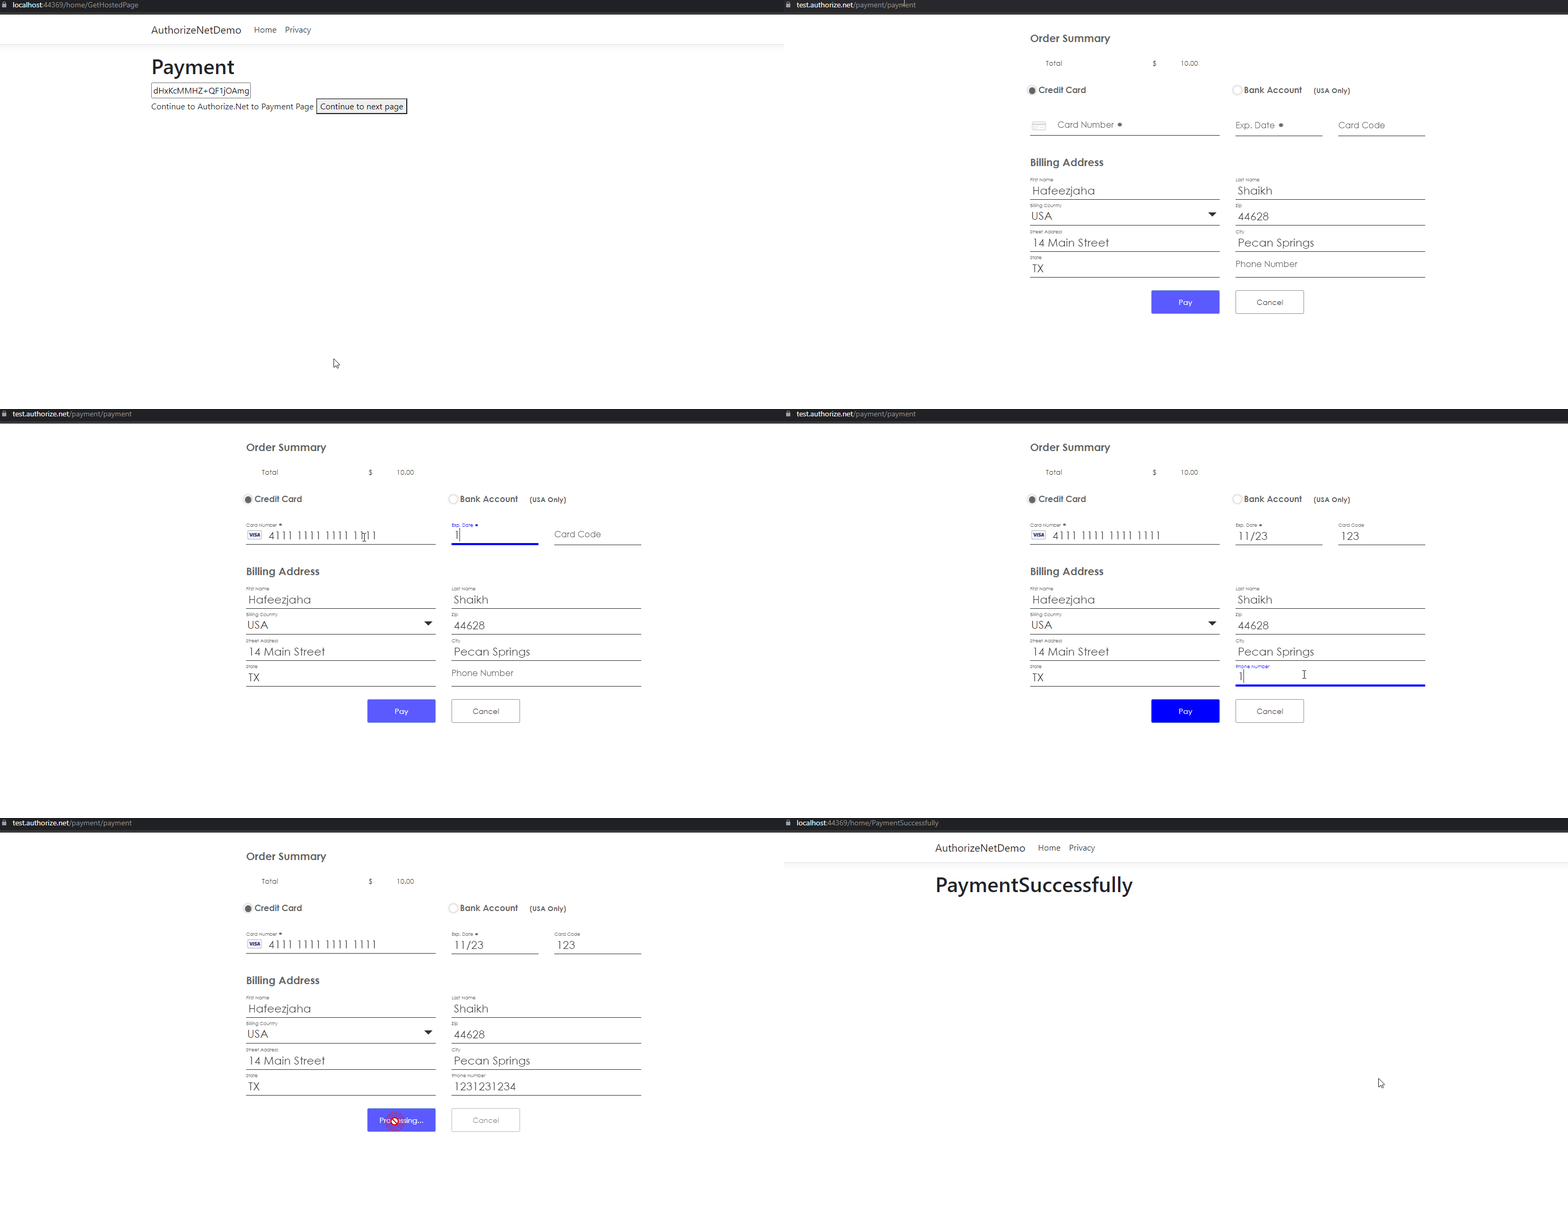
You will get a token and you will redirect to https://test.authorize.net/payment/payment with the help of that token and you can do the further payment as you can see below output.
Output

Also check, Firebase Notification In .Net Core


