
Here, we will learn about how to generate PDF using Rotativa in ASP.NET MVC 5. Pdf generation is an important feature, we will see Rotativa for generating the PDF
What is Rotativa?
Rotativa is an open-source package. We can easily generate PDFs using this library. Rotativa uses the Web kit engine which is used by the Chrome browser to render the HTML.
Implementation
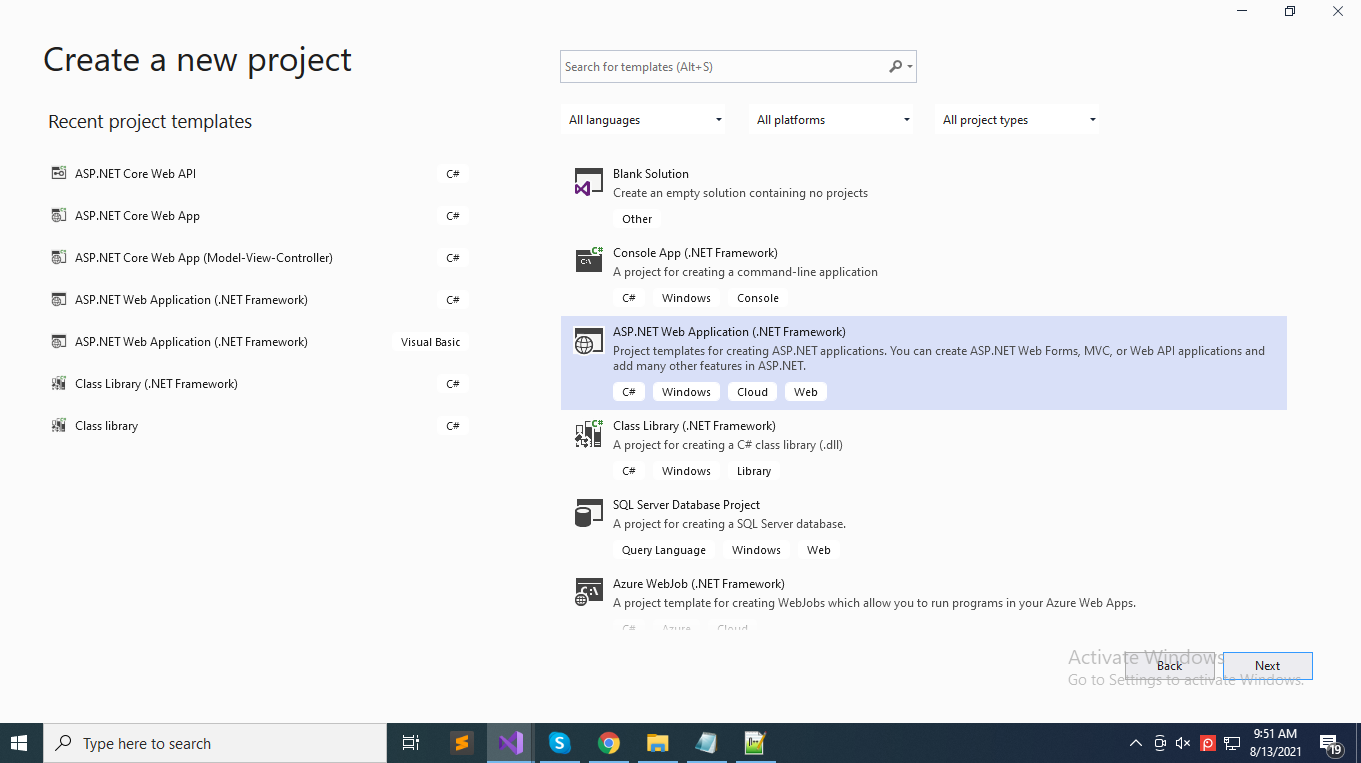
Step 1: Create New Asp.Net MVC application.
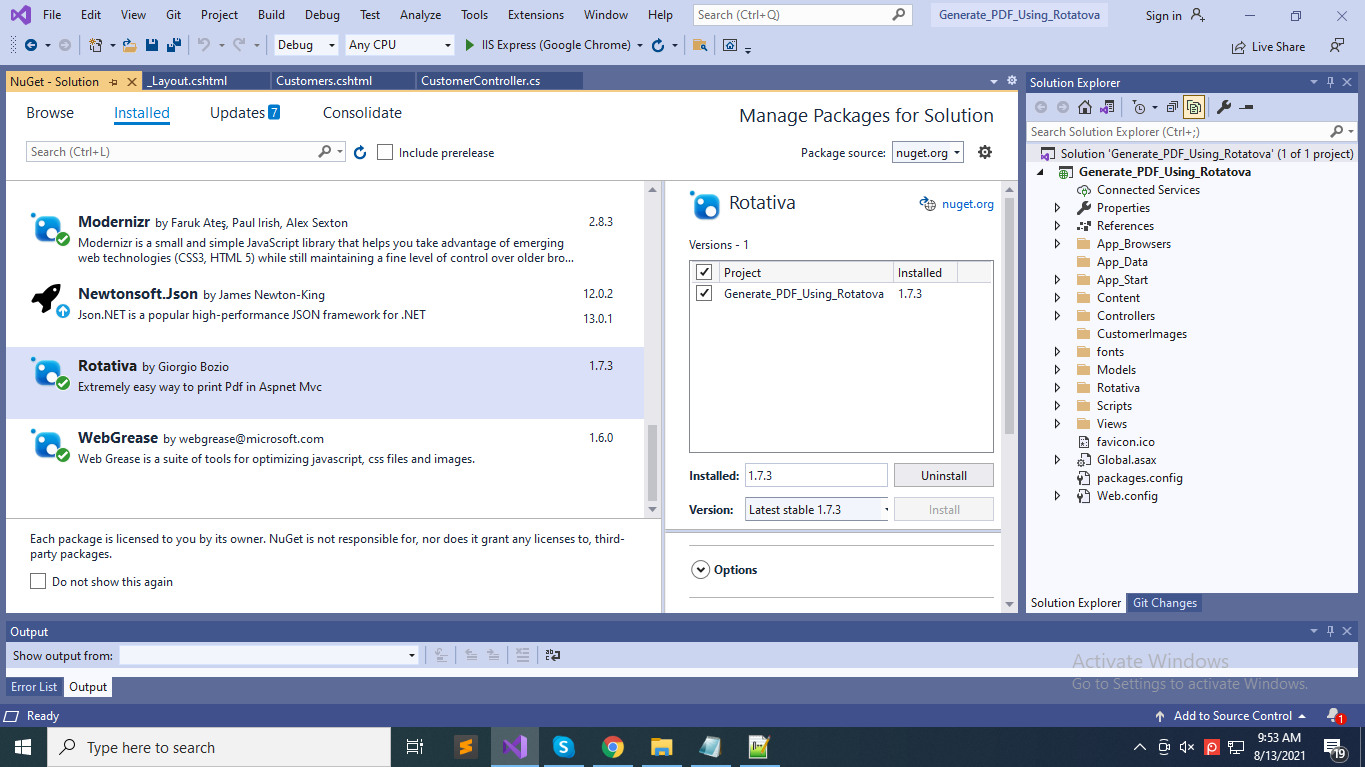
Step 2: Then install Library Package Rotativa.
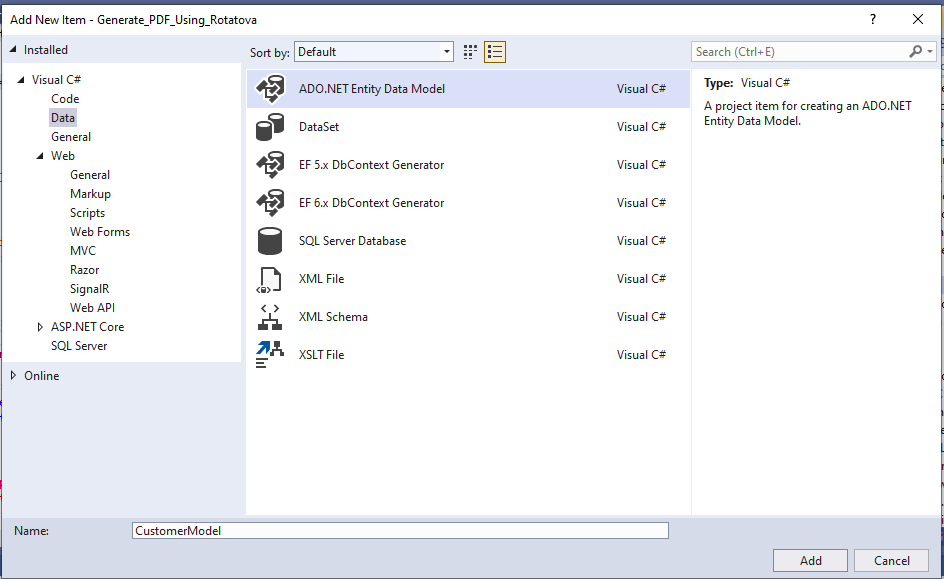
Step 3: Add the ADO.NET Entity Data Model.
Step 4: Then added Class Customer_tbl.
//------------------------------------------------------------------------------
// <auto-generated>
//     This code was generated from a template.
//
//     Manual changes to this file may cause unexpected behavior in your application.
//     Manual changes to this file will be overwritten if the code is regenerated.
// </auto-generated>
//------------------------------------------------------------------------------

namespace Generate_PDF_Using_Rotatova.Models
{
    using System;
    using System.Collections.Generic;

    public class Customer_tbl
    {
        public int CustomerId { get; set; }
        public string CustomerName { get; set; }
        public string Email { get; set; }
        public Nullable<int> PhoneNumber { get; set; }
        public string Address { get; set; }
        public string ZipCode { get; set; }
        public string Image { get; set; }
    }
}
Step 5: Create New CustomerController then Write below code in Controller.
using Generate_PDF_Using_Rotatova.Models;
using System;
using System.Collections.Generic;
using System.Linq;
using System.Web;
using System.Web.Hosting;
using System.Web.Mvc;

namespace Generate_PDF_Using_Rotatova.Controllers
{
    public class CustomerController : Controller
    {
        // GET: Customer

        public ActionResult Customers()
        {
            return View(LoadCustomerData());
        }

        private List<Customer_tbl> LoadCustomerData()
        {
            CustomerEntities customerEntitiesobj = new CustomerEntities();
            var res = customerEntitiesobj.Customer_tbl.ToList();
            return res;
        }

        public ActionResult PrintAllCustomer()
        {
            string footer = "--footer-right \"Date: [date] [time]\" " + "--footer-center \"Page: [page] of [toPage]\" --footer-line --footer-font-size \"9\" --footer-spacing 5 --footer-font-name \"calibri light\"";
            return new Rotativa.ViewAsPdf("Customers", LoadCustomerData())
            {
                FileName = "CustomerDetail.pdf",
                PageMargins = new Rotativa.Options.Margins(10, 5, 10, 5),
                PageSize = Rotativa.Options.Size.A4,
                PageOrientation = Rotativa.Options.Orientation.Portrait,
                PageWidth = 150,
                PageHeight = 160,
                CustomSwitches = footer
            };
        }

    }
}
Step 6: Write below code in View.
@model List<Generate_PDF_Using_Rotatova.Models.Customer_tbl>

@{
    ViewBag.Title = "Customers";
}

<style>
    .table > thead > tr > th, .table > tbody > tr > th, .table > tfoot > tr > th, .table > thead > tr > td, .table > tbody > tr > td, .table > tfoot > tr > td
    {
        vertical-align: text-top !important;
    }
    table
    {
        border-radius: 10px;
        margin-top: 5%;
    }
    .table-style
    {
        text-align:center;
    }
    .lable-for-print
    {
        text-align: right;
        color:white;
        float:right;
    }
    th
    {
        padding-top:25px;
        padding-bottom:25px;
        text-align:center;
        background-color:black;
        color:white;
    }
    td
    {
        text-align: center;
    }
    a
    {
        color: white;
    }
</style>

<br />
<div class="table-style">
    <table class="table table-bordered table-striped table-style">
        <thead>
            <tr>
                <th>CustomerName</th>
                <th>Email</th>
                <th>PhoneNumber</th>
                <th>Address</th>
                <th>ZipCode</th>
                <th>Image</th>
            </tr>
        </thead>
        <tbody>
            @foreach (var item in Model)
            {
                <tr>
                    <td>@Html.DisplayFor(modelItem => item.CustomerName)</td>
                    <td>@Html.DisplayFor(modelItem => item.Email)</td>
                    <td>@Html.DisplayFor(modelItem => item.PhoneNumber)</td>
                    <td>@Html.DisplayFor(modelItem => item.Address)</td>
                    <td>@Html.DisplayFor(modelItem => item.ZipCode)</td>
                    <td><img src="~/CustomerImages/@item.Image" style="width: 58px; height: 55px; border-radius: 50%; object-fit: cover;" /></td>
                </tr>
            }
        </tbody>
    </table>
    <br />
    <div class="lable-for-print btn btn-success">
        <span class="lable-for-print">
            @Html.ActionLink("Print", "PrintAllCustomer")
        </span>
    </div>
</div>
Step 7: Run the project then click on the Print button then download the PDF.
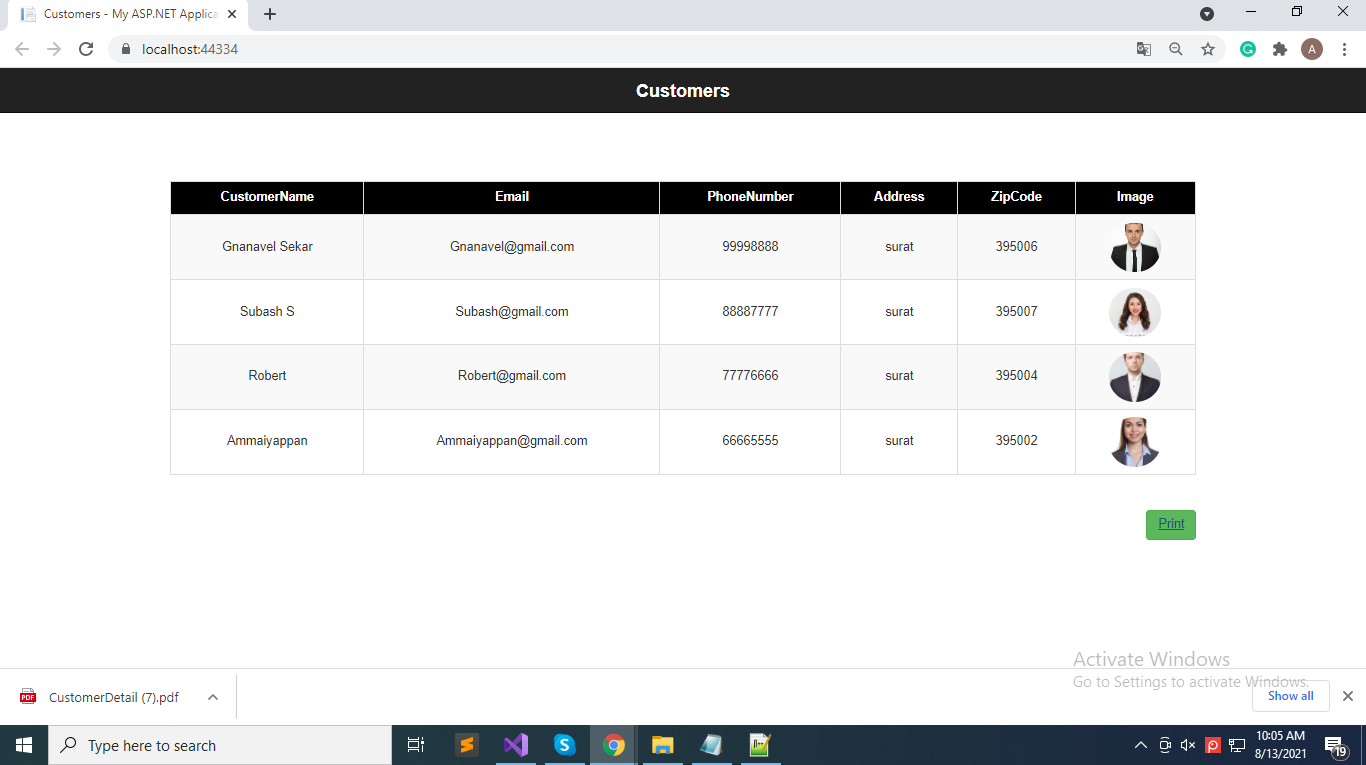
Step 8: then open the generated CustomerDetail PDF.
