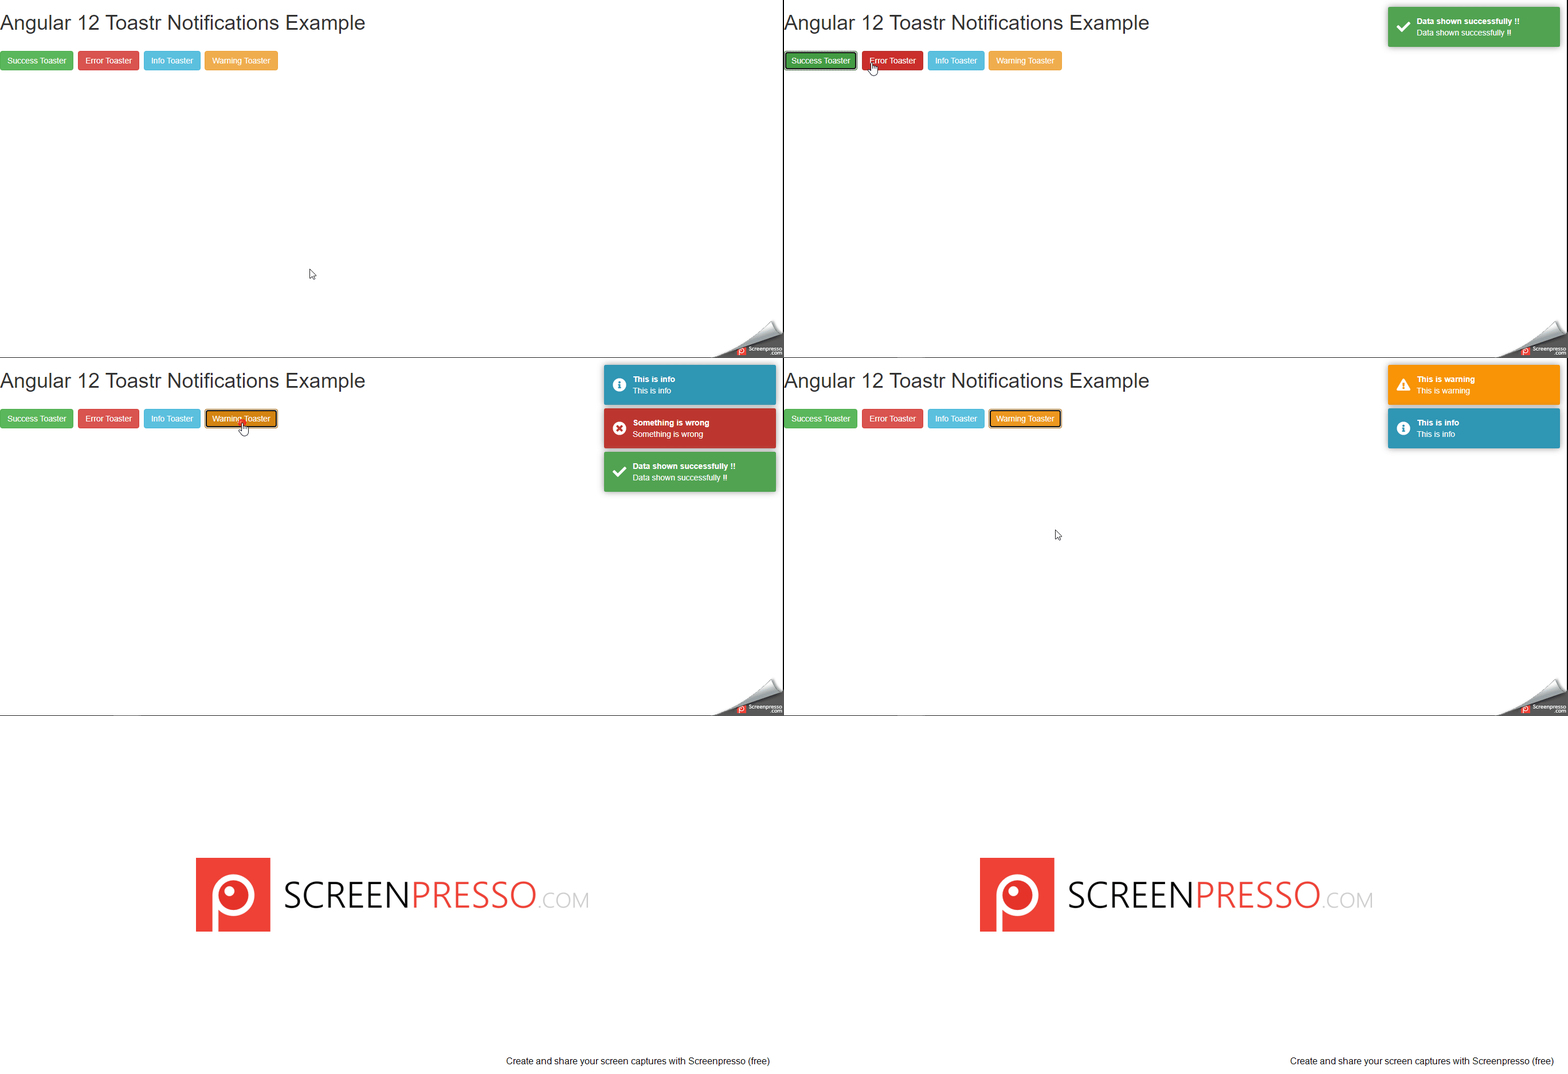
Hello friends, In this article We will explain to you how to use toaster notification in the angular 12 using ngx-toastr npm packages for toaster notifications. And two npm packages ngx-toastr and @angular/animations that provided to the use success, error, warning, and info alert messages.
Step 1:- First of all, create a new angular app. Now open your terminal and execute the following command on it to install the angular app.
ng new my-new-app --routing
Step 2:- Install Toaster Notification
Then install NPM package called npm install ngx-toastr –save for implement toaster notification in angular 12 app. So, You can install the packages by executing the following commands in the terminal.
npm install ngx-toastr --save
npm install @angular/animations --save
Step 3:- After that, open angular.json file and update the following code into it.
.....
"styles": [
              "src/styles.css",
              "node_modules/ngx-toastr/toastr.css"
            ],
.....
Step 4:- Add Code in App.Module.ts File
import { BrowserModule } from '@angular/platform-browser';
import { NgModule } from '@angular/core';

import { AppComponent } from './app.component';
import { BrowserAnimationsModule } from '@angular/platform-browser/animations';
import { ToastrModule } from 'ngx-toastr';

@NgModule({
  declarations: [
    AppComponent
  ],
  imports: [
    BrowserModule,
    BrowserAnimationsModule,
    ToastrModule.forRoot()
  ],
  providers: [],
  bootstrap: [AppComponent]
})
export class AppModule { }
Step 5:- Add Code in App.Component.html File
<h1>Angular 12 Toastr Notifications Example</h1><br>
<button (click)="showToasterSuccess()" class="btn btn-success">
Success Toaster
</button>
<button (click)="showToasterError()" class="btn btn-danger">
Error Toaster
</button>
<button (click)="showToasterInfo()" class="btn btn-info">
Info Toaster
</button>
<button (click)="showToasterWarning()" class="btn btn-warning">
Warning Toaster
</button>
Step 6:- Add Code in App.Component.ts File
import { Component } from '@angular/core';
import { ToastrService } from 'ngx-toastr'

@Component({
  selector: 'app-root',
  templateUrl: './app.component.html',
  styleUrls: ['./app.component.css']
})
export class AppComponent {
  title = 'toaster-not';

  constructor(private toastr: ToastrService) { }

  showToasterSuccess(){
    this.toastr.success("Data shown successfully !!", "Data shown successfully !!")
  }

  showToasterError(){
    this.toastr.error("Something is wrong", "Something is wrong")
  }

  showToasterInfo(){
    this.toastr.info("This is info", "This is info")
  }

  showToasterWarning(){
    this.toastr.warning("This is warning", "This is warning")
  }
}
Step 7:- Add Code in Index.html File for Design purpose
<!doctype html>
<html lang="en">
<head>
  <meta charset="utf-8">
  <title>Test</title>
  <base href="/">
  <meta name="viewport" content="width=device-width, initial-scale=1">
  <link rel="icon" type="image/x-icon" href="favicon.ico">

  <link rel="stylesheet" href="https://maxcdn.bootstrapcdn.com/bootstrap/3.4.1/css/bootstrap.min.css">
  <script src="https://ajax.googleapis.com/ajax/libs/jquery/3.5.1/jquery.min.js"></script>
  <script src="https://maxcdn.bootstrapcdn.com/bootstrap/3.4.1/js/bootstrap.min.js"></script>

</head>
<body>
  <app-root></app-root>
</body>
</html>
Step 7:- Let’s See Below Output

Please give your valuable feedback and if you have any questions or issues about this article, please let me know.
Also Check What Is *ngFor And *ngIf In Angular


great article! Do you have any idea how to save this notifications so I can have a history of the last 5 notifications for example?