
Introduction
Here, we will learn about how we can dynamically add-remove row of the grid using Angular 7. We have performed the same functionality with AngularJS also, so if you want then you can refer it from here.
Prerequisite:
- Basic knowledge of Angular 7
- Any Editor likes Visual Studio Code
- Angular CLI must be installed
- Node JS must be installed
Let’s get started
Open the Visual Studio code and open a new Terminal.

Type the following command in it.
ng new dynamic-grid

We will also install the Bootstrap and Toaster as we are going to use it further.
npm install bootstrap
npm install ngx-toastr --save
![]()
![]()
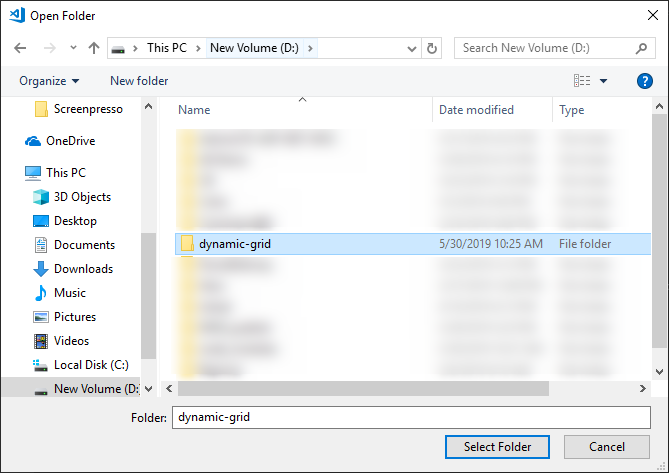
Open the project in Visual Studio Code by opening the folder.
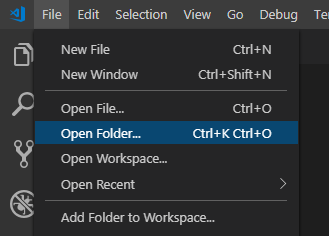
Choose the folder and open it.
Now its time to create the component for the project, so open the terminal and type the following command.
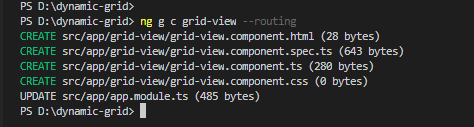
ng g c grid-view --routing
First, we will add the reference for bootstrap and toaster in the angular.json file.

Type the following command to generate the model file for the class.

ng g class grid.model
All done with installation and project setup. Now we will code the project.
Open the app.module.ts file present at the root folder and add the references there.
import { BrowserModule } from '@angular/platform-browser';
import { NgModule } from '@angular/core';
import { ToastrModule } from 'ngx-toastr';
import { AppRoutingModule } from './app-routing.module';
import { AppComponent } from './app.component';
import { GridViewComponent } from './grid-view/grid-view.component';
import { FormsModule } from '@angular/forms';
import { BrowserAnimationsModule } from '@angular/platform-browser/animations';

@NgModule({
  declarations: [
    AppComponent,
    GridViewComponent,
  ],
  imports: [
    BrowserModule,
    AppRoutingModule,
    FormsModule ,
    BrowserAnimationsModule,
    ToastrModule.forRoot()
  ],
  providers: [],
  bootstrap: [AppComponent]
})
export class AppModule { }
Open app.component.html file and add the code in it.
<div class="container">
  <app-grid-view></app-grid-view>
</div>
Open the index.html file and add the reference for font-awesome.
<!doctype html>
<html lang="en">
<head>
  <meta charset="utf-8">
  <title>DynamicGrid</title>
  <base href="/">

  <meta name="viewport" content="width=device-width, initial-scale=1">
  <link rel="icon" type="image/x-icon" href="favicon.ico">
  <link rel="stylesheet" href="https://use.fontawesome.com/releases/v5.8.1/css/all.css" integrity="sha384-50oBUHEmvpQ+1lW4y57PTFmhCaXp0ML5d60M1M7uH2+nqUivzIebhndOJK28anvf" crossorigin="anonymous">
</head>
<body>
  <app-root></app-root>
</body>
</html>
Open the grid.model.ts file and add the class in it.
export class DynamicGrid{
    title1:string;
    title2:string;
    title3:string;
}
Open the grid-view.component.html file add the HTML code in it.
<div class="container" style="margin-top: 5%">
    <table class="table table-striped table-bordered">
        <thead>
            <tr>
                <th>Action</th>
                <th>Title 1</th>
                <th>Title 2</th>
                <th>Title 3</th>
            </tr>
        </thead>
        <tbody>
             <tr *ngFor="let dynamic of dynamicArray; let i = index;">
              <td (click)="deleteRow(i)">
                <i class="fa fa-trash fa-2x"></i>
              </td>
                <td>
                  <input [(ngModel)]="dynamicArray[i].title1" class="form-control" type="text" />
                </td>
                <td>
                  <input [(ngModel)]="dynamicArray[i].title2" class="form-control" type="text" />
                </td>
                <td>
                  <input [(ngModel)]="dynamicArray[i].title3" class="form-control" type="text"/>
                </td>
            </tr>
            <tr>
              <td (click)="addRow(i)">
                <i class="fa fa-plus fa-2x"></i>
              </td>
            </tr>
        </tbody>
    </table>
  </div>
Finally, write the below code for the grid-view.component.ts file.
import { Component, OnInit } from '@angular/core';
import { ToastrService } from 'ngx-toastr';
import { DynamicGrid } from '../grid.model';

@Component({
  selector: 'app-grid-view',
  templateUrl: './grid-view.component.html',
  styleUrls: ['./grid-view.component.css']
})
export class GridViewComponent implements OnInit {

  constructor(private toastr: ToastrService) { }

  dynamicArray: Array<DynamicGrid> = [];
  newDynamic: any = {};
  ngOnInit(): void {
      this.newDynamic = {title1: "", title2: "",title3:""};
      this.dynamicArray.push(this.newDynamic);
  }

  addRow(index) {
      this.newDynamic = {title1: "", title2: "",title3:""};
      this.dynamicArray.push(this.newDynamic);
      this.toastr.success('New row added successfully', 'New Row');
      console.log(this.dynamicArray);
      return true;
  }

  deleteRow(index) {
      if(this.dynamicArray.length ==1) {
        this.toastr.error("Can't delete the row when there is only one row", 'Warning');
          return false;
      } else {
          this.dynamicArray.splice(index, 1);
          this.toastr.warning('Row deleted successfully', 'Delete row');
          return true;
      }
  }

}
Output:
For some reason this solution doesn’t work inside a element
Hello Faisal, nice article and easy to understand, I followed your explanation and adding the rows and delete them work fine. Is there any chance you can expand your article with the following scenario: Title 1 is a select where the user can pick one value, as soon as the user selects the value, title 2 and title 3 will be populated based on that selection (being tracked by the ngModelChange) the challenge I am facing at this point is that the moment I add a new row and pick another title 1, title 2 and title 3 will be updated in ALL rows and not in the row the user is in…if is there any way you can expand, It will be appreciated.
I’m afraid i get this message when trying your solution. The add button cannot pass an index because it is out of the scope of the ngFor.
I get this error:
Identifier ‘i’ is not defined. The component declaration, template variable declarations, and element references do not contain such a member
Please download source code and check it’s working on not.